Material Preparation and Component Assembly
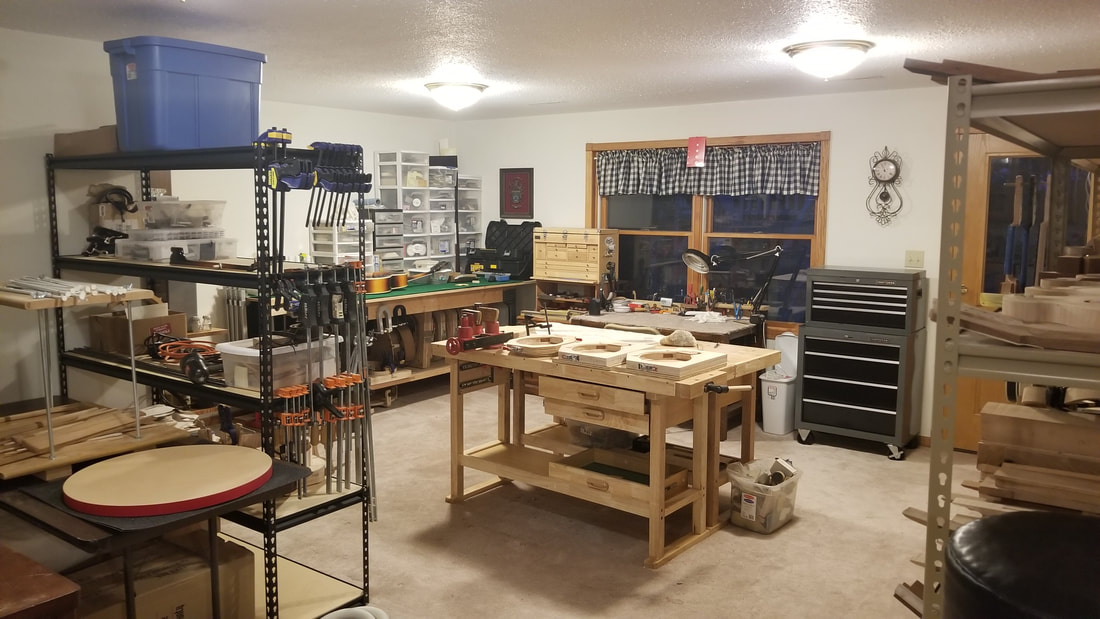
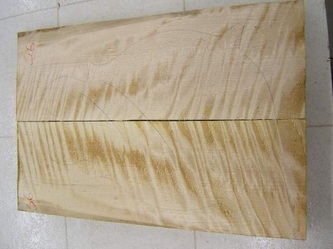
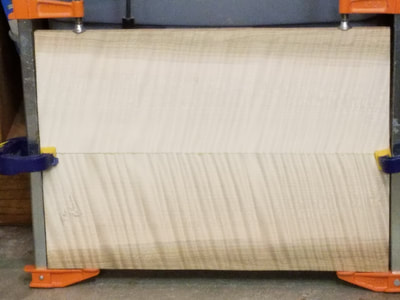
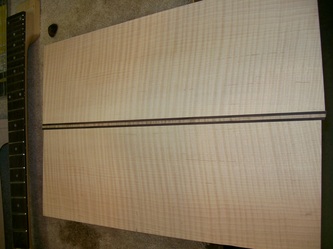
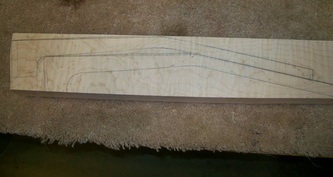
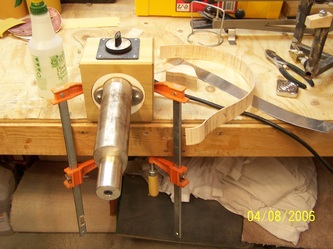
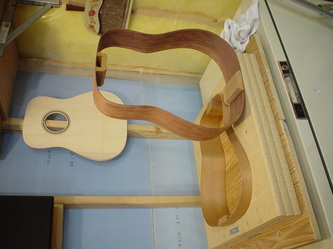
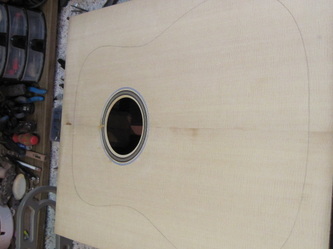
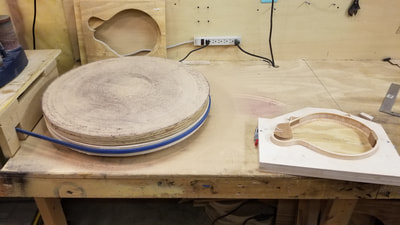
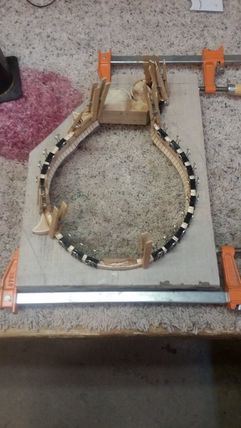
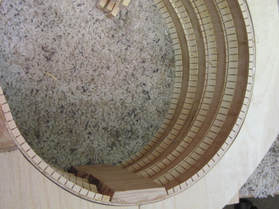
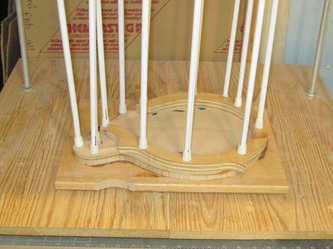
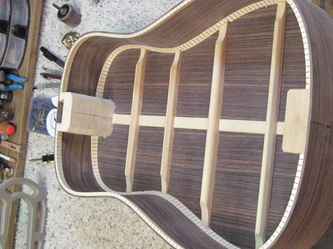
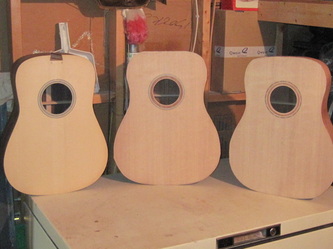
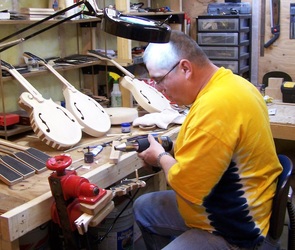
I keep my shop at 35 to 45% relative humidity and around 70 degrees. I keep the bookmatched materials stickered in the shop with some glued together and some unprocessed. The first step is to join the fronts and backs using a long plane to square and true the joint, then a rubbed hide glue joint on carved materials or a clamping table for thinner plates for guitars. I also keep pre-cut side slats ready to bend in various materials. When ready to make a new instrument, I bend the sides to shape and clamp them into mold frames. I glue in the neck and tailblocks using hide glue. I let them sit a few days in the molds to relax and acclimate a bit. I glue in the ribbon lining and sand the lining flush with the rim or radius so they are ready to accept the front and back plates.
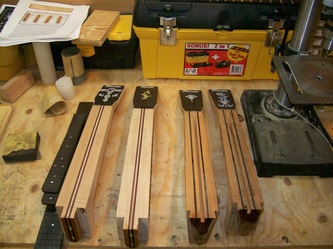
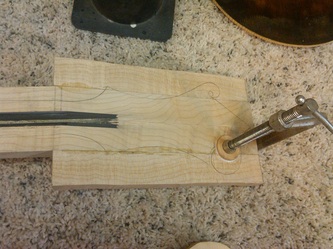
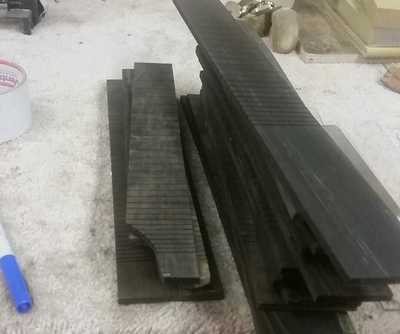
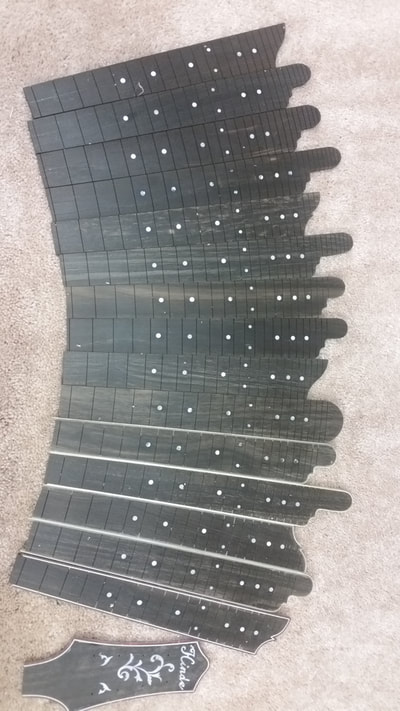
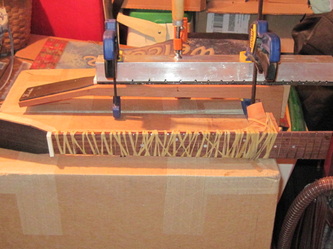
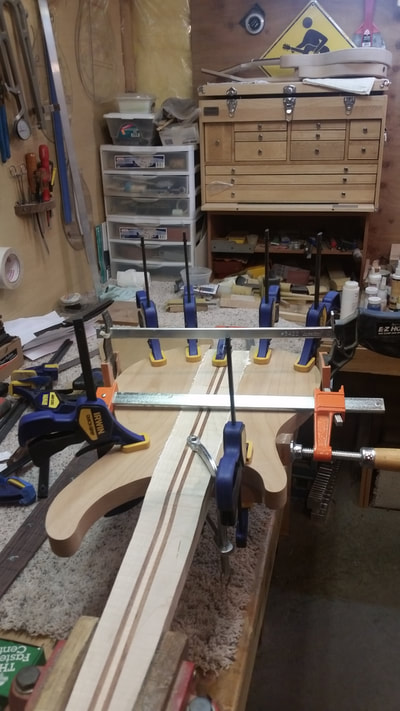
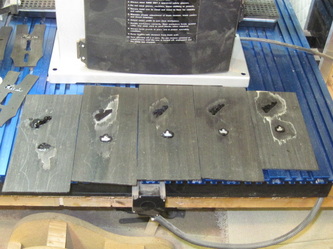
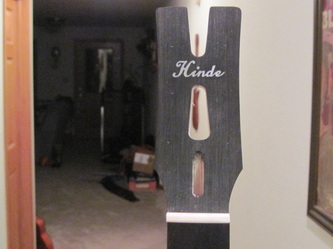
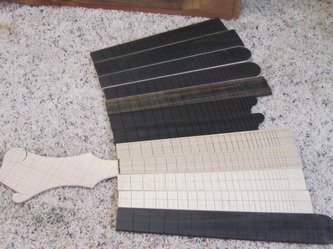
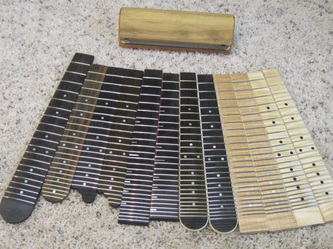
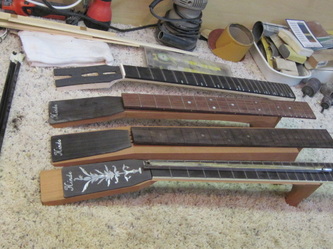
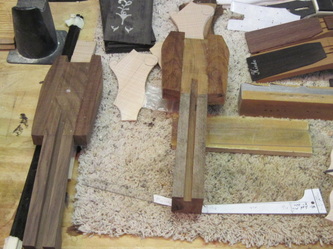
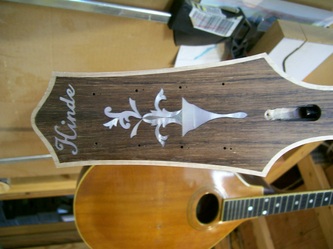
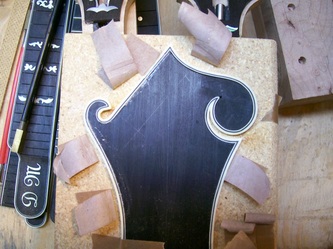
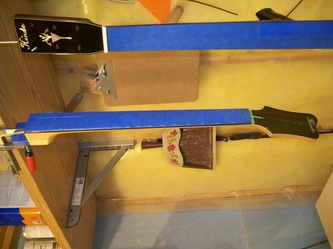
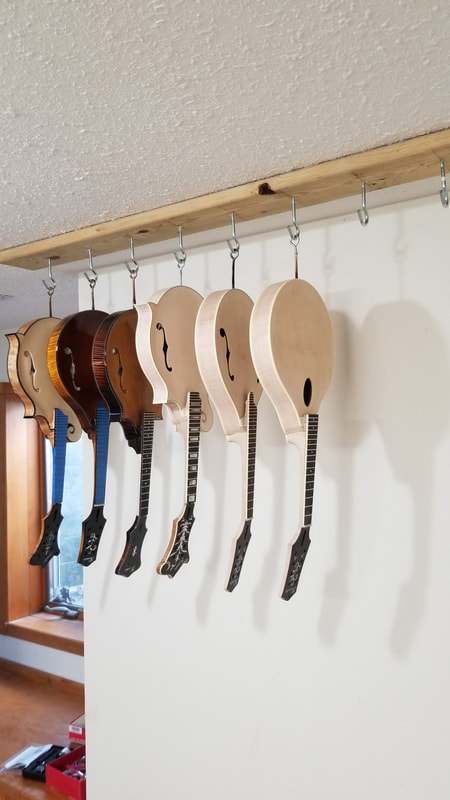
I keep fingerboard blanks in various materials ready along with headstock covers. I have fingerboards that are partially completed along with the peghead overlays. I have neck blocks in raw form, partial assemblies of necks with truss rod slots and carbon fiber rods glued in with epoxy. I try to make several sub-assemblies when I set up for these operations to save some time down the road. Things like gluing plates, thicknessing plates, cutting and thicknessing rim slats, bending rims, fingerboard slotting, cutting truss rod channels, radiusing fingerboards, and some initial inlay work can be much more efficient done in multiples. More efficient than doing each step only once.
I keep fingerboard blanks in various materials ready along with headstock covers. I have fingerboards that are partially completed along with the peghead overlays. I have neck blocks in raw form, partial assemblies of necks with truss rod slots and carbon fiber rods glued in with epoxy. I try to make several sub-assemblies when I set up for these operations to save some time down the road. Things like gluing plates, thicknessing plates, cutting and thicknessing rim slats, bending rims, fingerboard slotting, cutting truss rod channels, radiusing fingerboards, and some initial inlay work can be much more efficient done in multiples. More efficient than doing each step only once.
Construction
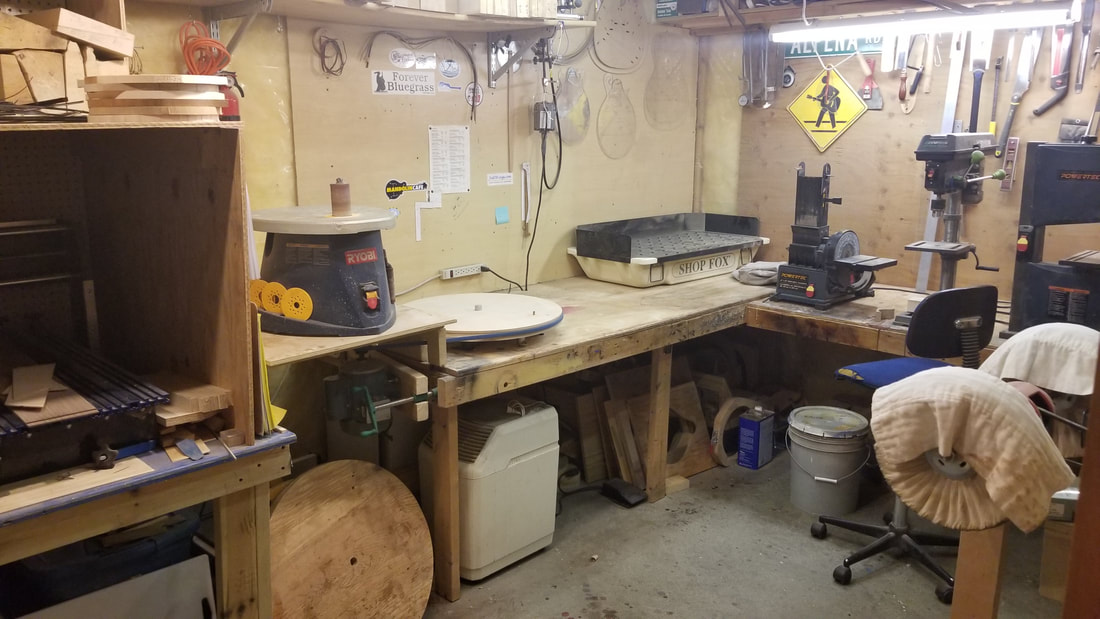
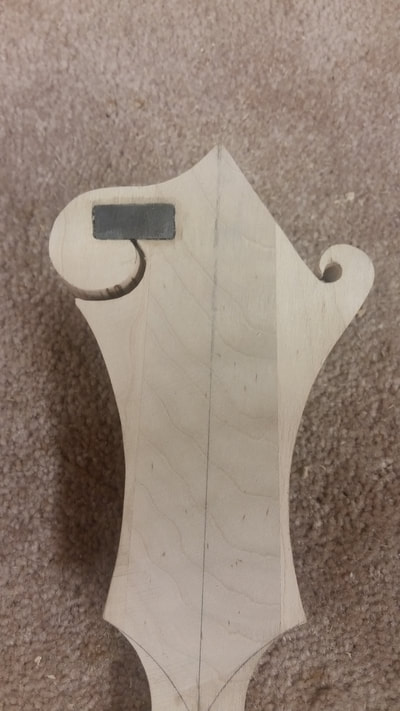
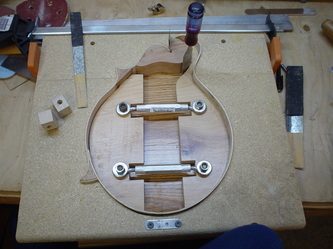
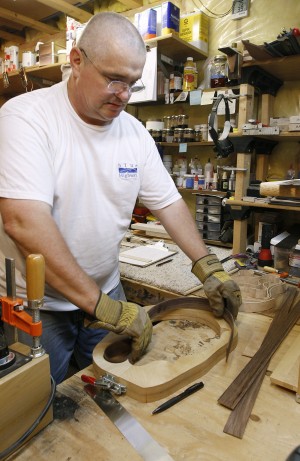
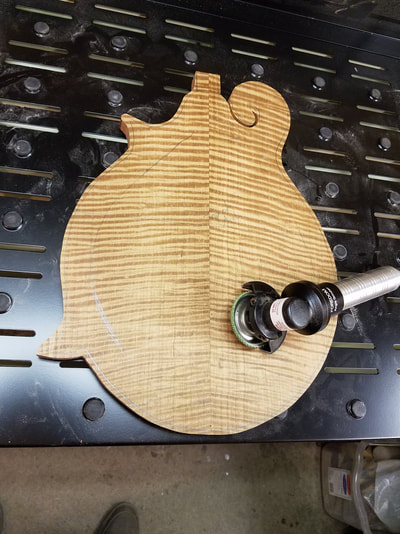
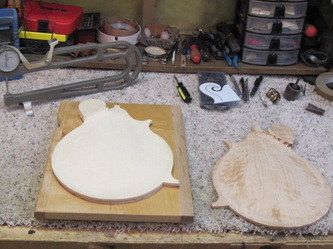
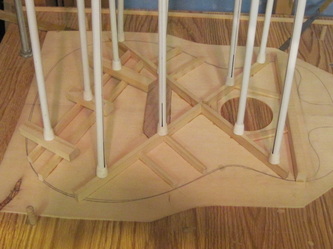
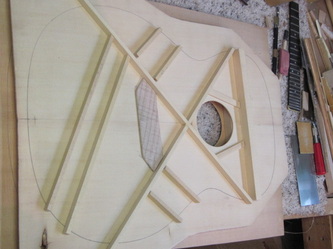
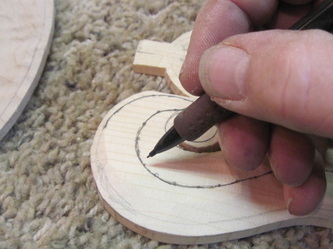
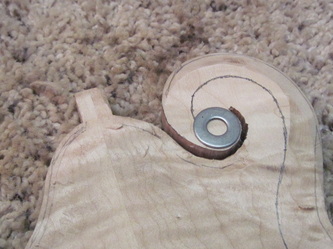
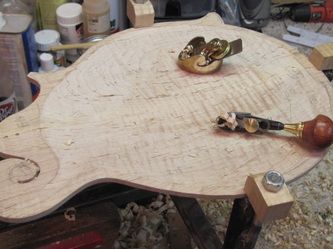
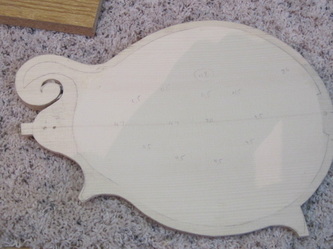
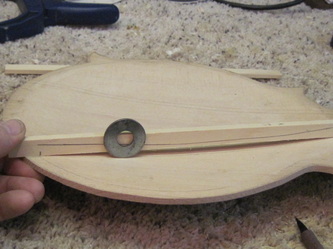
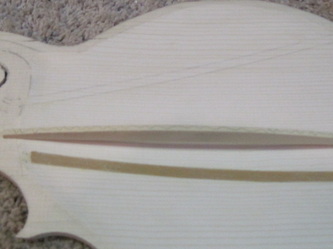
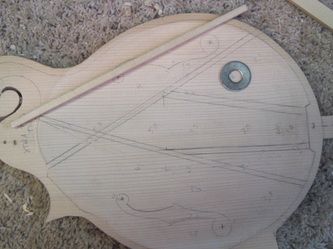
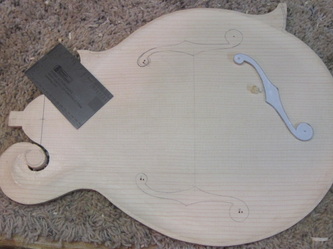
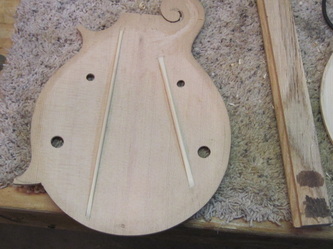
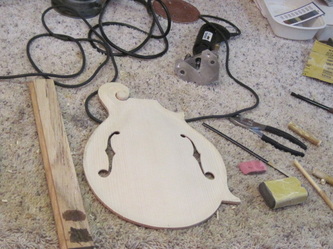
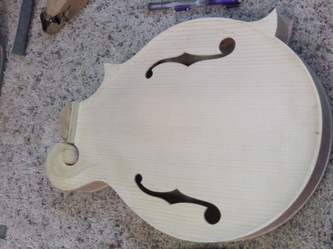
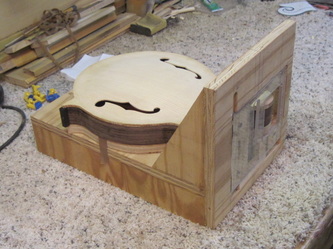
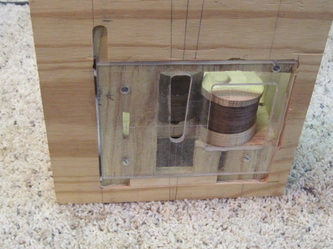
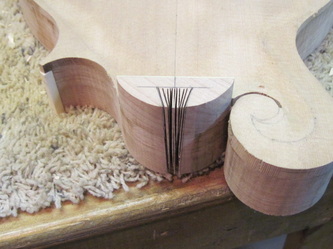
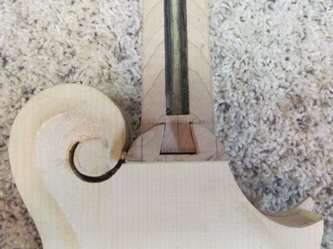
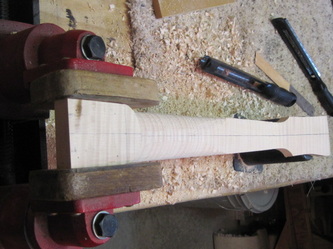
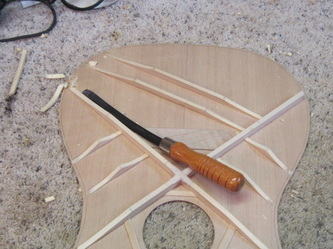
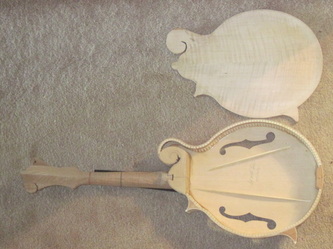
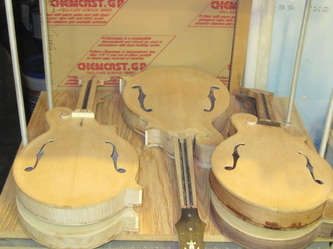
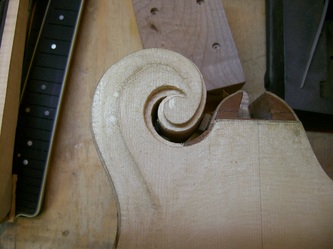
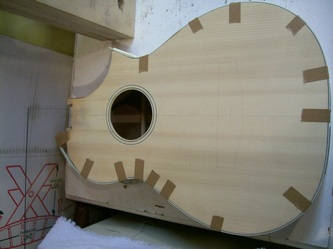
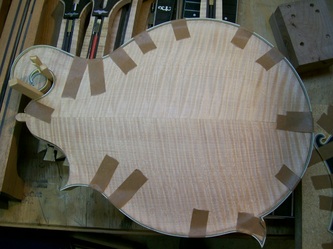
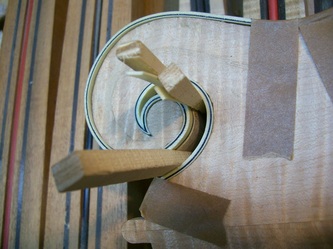
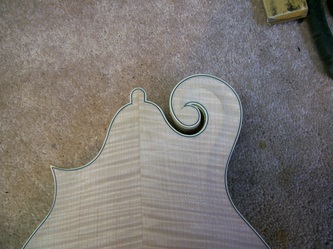
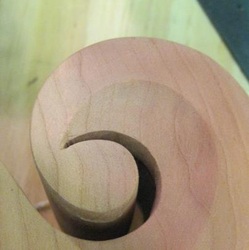
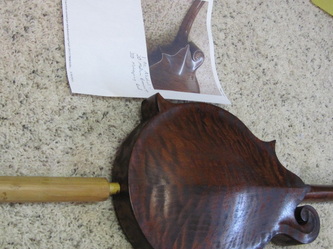
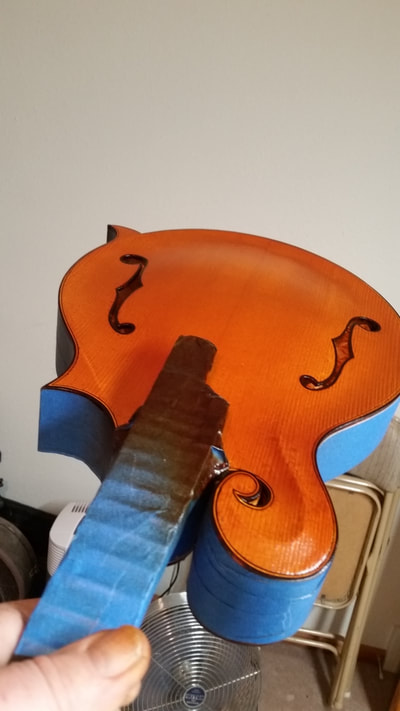
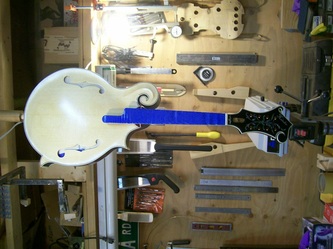
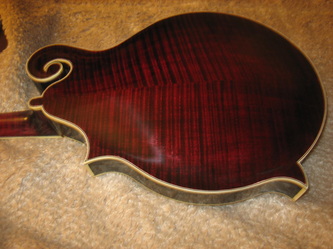
I carve the mandolin plates by hand or using a duplicarver. The goal is only to remove a majority of the excess wood, establish the outside curvatures, and leave about 3 to 5 mm excess material inside for final graduations. When I set up for this I may do up to 10 instrument's tops and backs. The scrolls are not carved, but left in an unfinished state. For guitars I glue up the top and back braces on the plates, but do not shape them until just before glueing the soundbox together. I install the frets and inlays for the fingerboards. I work on the headstock layouts and inlays and apply them to the neck blanks. To assemble the mando bodies, I rough carve the outside faces to final shape and clearance for binding, rough carve the scroll to about 90% completion, cut out the scroll, graduate the tops and backs, glue in the tone bars, cut the F holes, then glue the top to the rim. I glue on the body to neck extention to allow the dovetail to be cut all the way in the body. When this is ready, I cut the dovetails in the body and neck. Then I fit the neck to about 90% completion. Then I glue the back on to the rim assembly. I check the neck fit and alignment again. In the same time, I shape the neck, install the truss rod and glue on the finished peghead covers.
Binding, Finishing and Final Assembly
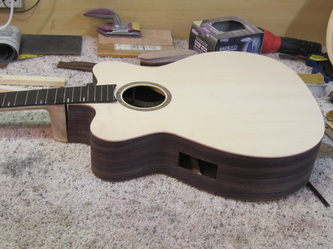
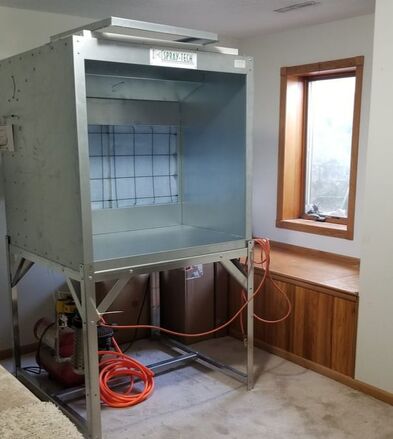
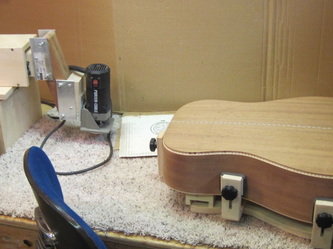
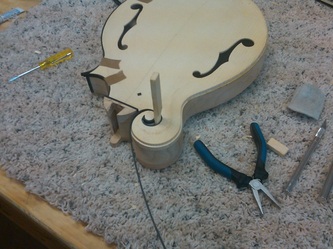
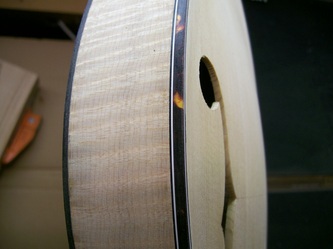
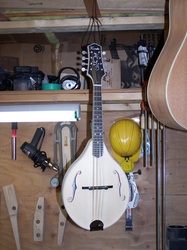
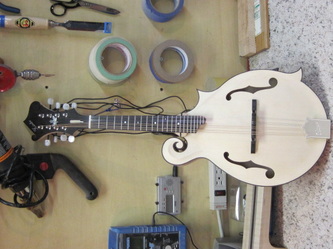
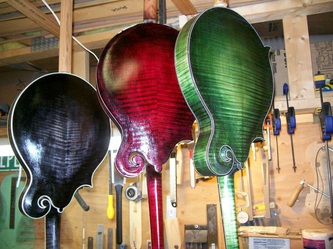
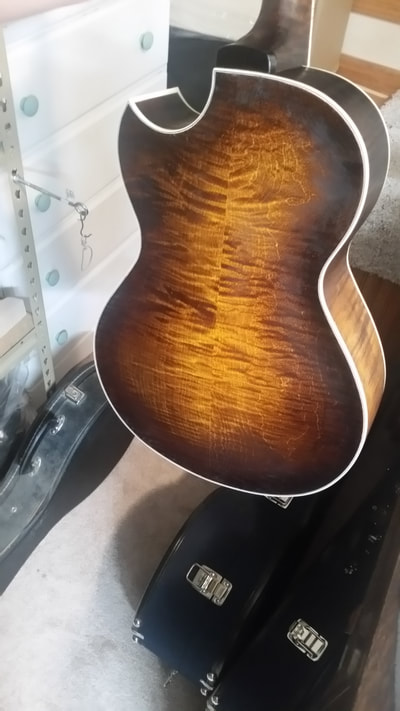
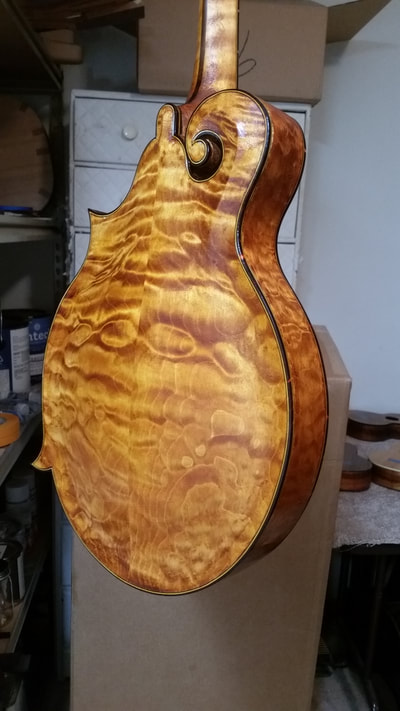
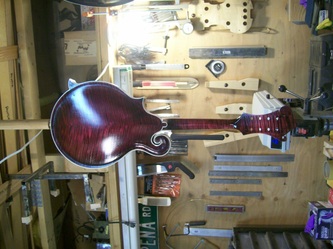
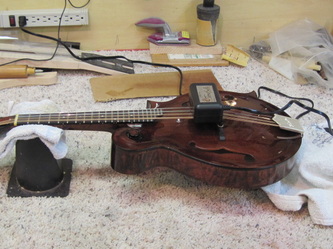
Once the bodies and necks are assembled, the final trimout starts. Neck fitting and alignment, sanding out the body to true the sides before routing for bindings. Routing the binding channels, end graft channels, fingerboard extension support block, cleaning out the scroll area and additional carving on the scroll. Drilling the tuner holes, headstock binding, final neck shaping and fitting the heal cap. Applying the binding and any other trim. Final sanding and neck fitting before finishing starts. Final sanding, sealer coats, string-up in the white on mandolins, fitting the bridges, masking off for color and finish. Scraping the binding, sealer coats, color, applying the finish, sanding out and buffing, then final assembly and set-up.
